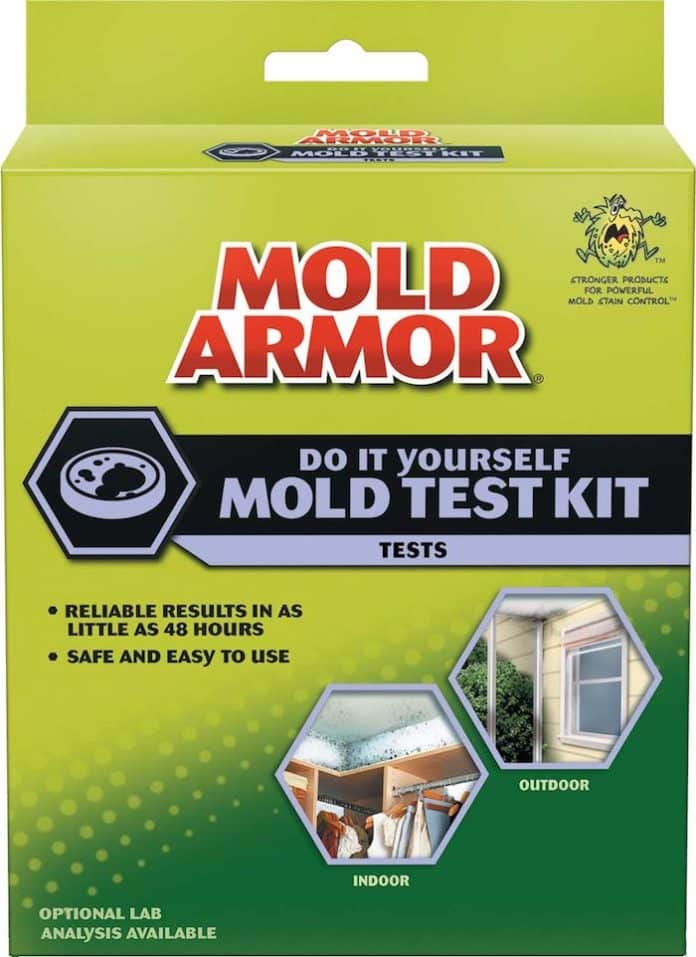
Imagine yourself admiring a beautiful wall in your new home then you suddenly spot a dark grimy spot close to the ceiling. When you move closer, you realize that it’s mold! However, before rushing to buy mold cleaners, you need to get a mold test kit.
Why is owning one important? Because some types of mold are toxic and cause severe skin and pulmonary illnesses. Plus it helps you to identify the correct cleaners for each type.
Tip: The Best Air Purifier Buyers Guide!
The Best Mold Test Kit
1. Mold Armor FG500 Do It Yourself Mold Test Kit
 (3 / 5)
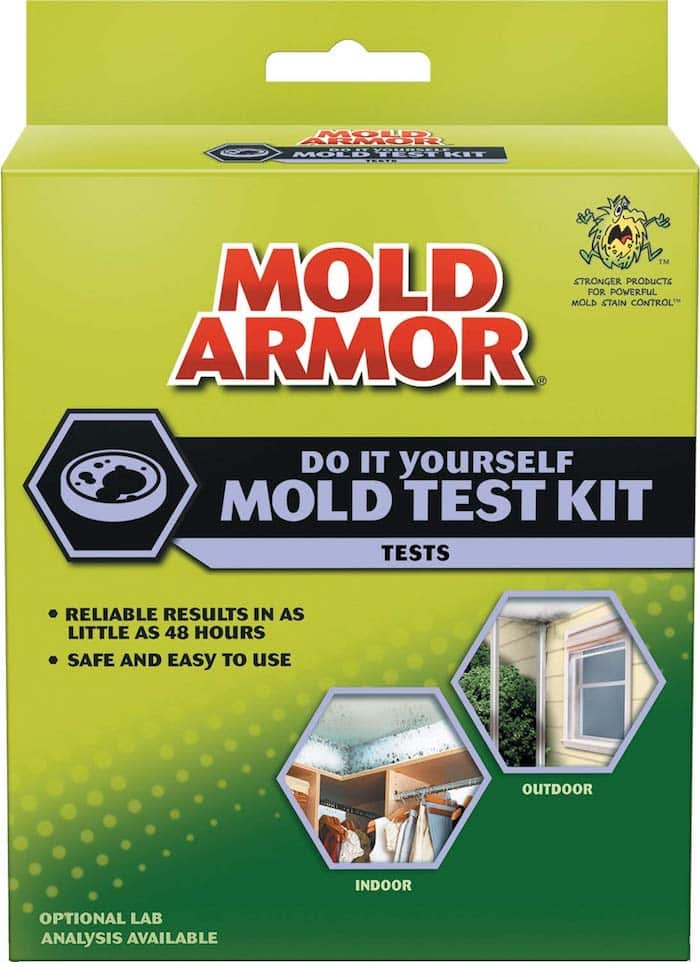
Inside the packaging is a colorless plastic petri dish, a sterile and mold growth medium inside a small bottle. It’s almost the same size as a bottle of eye drops. These are all you need to perform the three main mold tests.
Indoor air quality test
- Remove the lid of your petri dish and pour in the mold growth medium
- Place the petri dish on top of your coffee table exposed for 1 hour.
- Replace the lid and let it sit for 2 days
- However, it’s advisable to let it sit for at least 96 hours if you’ve moved to a new property. Why? to check for slow-growing mold
Air conditioning & heating
- Locate your unit’s exhaust ventilation then attach your petri dish using tape
- Close all vents then let your unit run at its highest setting for 10 minutes
- Detach your petri dish and cover it for 48 hours
- If you don’t spot any mold after 72 hours, you’re good.
Surface Sampling
- If you’ve just spotted mold on your walls, shelves or furniture
- Put a small amount of medium inside the petri dish then dip your sterile swab inside.
- Gently wipe the mold and dip the swab inside your medium.
- Send it for a lab-analysis to identify the type.
The mold medium only enables you to identify the presence of mold. In order to proceed to identification and elimination, you need a lab analysis. Each mail-in analysis costs $40 and you’ll receive the results after three weeks.
2. “WINNER” DIY Mold Test Kit
 (4.5 / 5)
Buyers hate recurring costs. Fortunately, the DIY Mold Test Kit’s price includes testing and shipping fee for mail-in lab analysis. Get this, you won’t pay anything to have the lab mail your results. That’s good news, isn’t it?
Tape Lift
The tape lift consists of a 2X4 inch plastic sticky tape inside a clear case. You can use it on your air conditioning & heating unit as well as surface sample tests. How does it work? First, make sure the wall or furniture is dry. Then, open the clear case and use your tape to rub against one-square-inch of mold.
After gathering your sample, put it inside the clear case. Get a Sharpie then write the room where you got your sample. If you used a tape lift inside your attic, write “Attic” on your plastic clear case.
Sterile swab
You’ll get a Ziploc bag containing a swab measuring about 5 inches and a thin vertical case that resembles a straw. You’ll see a detachable cap that fits on top when mailing your swab for lab analysis. Just like the tape lift, you can use it to test your air conditioning unit or perform a surface sample test.
First, make sure the moldy surface is dry. Don’t try to collect a sample right after taking a shower. Why? Because humidity will make the mold smear all over the wall, instead of sticking on your swab.
After collecting a sample, put the swab inside the case and label it correctly. You’ll receive your lab report after three weeks.
3. ProLab Do It Yourself Test Kit
 (3.1 / 5)
The packaging is basic. Just tear the back and remove the folded Ziploc. Inside you’ll see a small clear petri dish, bottle of mold medium, and a swab for surface testing. The bottle contains just enough medium to carry out one test.
How to use it for an air indoor quality test
- Don’t use it right after a bath or cooking because the high humidity will affect results
- Pour the mold medium inside your sterile dish and swirl it around to ensure even distribution.
- Cover it for one hour to let it harden.
- Place it near a well-aerated area. Avoid placing it near windows.
- Leave it exposed for one hour then return and cover with lid for 48 hours.
- If you notice black spots then your home has a high amount of mold.
Air conditioning and surface test
- Pour a small amount of medium inside your petri dish
- Gently dab the swab.
- Rub it over a one-inch surface covered with mold.
- Put the swab inside a clean and dry Ziploc bag for shipping.
Mailing and testing
Unfortunately, you have to pay for shipping and lab analysis. Each test costs $40 and you can only use the kit in one area.
4. My Mold Detective
 (3.3 / 5)
Packaging
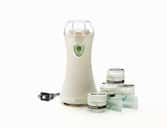
The MyMoldDectective Kit comes packaged inside a simple square cardboard box. The front section consists of see-through plastic allowing customers to get a glimpse. What’s inside the box?
- A product manual
- Two air sample cassettes – Used for indoor air tests that only takes 5 minutes.
- Two surface tape samples – Used for lab analysis
- Mailing envelope
- There are sticky labels on each air cassette for labeling.
How to use it
Sticky tape
- Place the sticky side on mold spots on a ceiling, corner or roof
- Carefully put it inside the clear case provided.
- Write the room that you obtained your sample
Air Sample cassette
- Shut all doors and windows
- Position your unit at the center of the room on top of a table
- Open the lid on top and screw in an air cassette
- Let your unit run for five minutes
- Remove the cassette and label it according to the instructions.
After gathering samples, you’ll send them for lab analysis. It takes 1 week to receive the results.
5. Amatest AMA109
 (2.3 / 5)
Testing your indoors
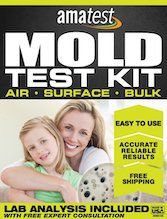
- Put medium inside a clean petri dish and cover it for an entire hour. The thickening makes trapping mold spores easier.
- Remove the lid and leave your medium exposed for one hour.
- Shut it and wait for 48-72 hours
- Seal the petri dish using electrical tape and mail it back
Doing a surface test
- Use the sterile swab to collect a mold sample
- Pour a small amount of medium inside your petri dish then wipe the mold inside
- Place the lid back and use electrical tape as per mailing instructions.
6. Healthful Home 5-Minute Mold Test
 (3.5 / 5)
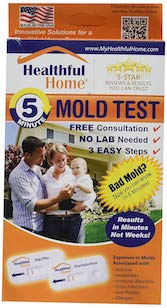
When you look at the Healthful Home 5-Minute Mold Test, you realize that it only consists of a swab, case, and two kits. Guess what? You won’t have to pay anything to get your mold analyzed!
How does it work?
Inside the packaging is a swab contained in a plastic case. You’ll also spot two test kits resembling DIY pregnancy kits. Take a mold sample using your swab then put it inside its case.
Break the vial attached on top by twisting it clockwise. Doing this releases a clear fluid that tests the presence of harmful mold. This fluid flows to a dripper at the bottom. Place one drop on each test kit then wait for five minutes.
If there’s a high amount of toxic mold, the kits turn purple.
7. SEEML Labs DIY Mold Test Kit
 (4.1 / 5)
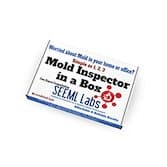
It comes with three different types of adhesive plastic tape. There’s a strip suitable for wet and high humidity rooms such as bathrooms. Wait until your bathroom is partially dry then rub your adhesive on moldy areas. Each adhesive strip has its own clear case that you use to mail for lab analysis.
Rather than spend money buying three testing kits, your SEEML package comes with an adhesive strip for air conditioning units. Activate your unit at the highest setting for five minutes then switch it off. Rub this adhesive strip on the air outlets then prepare it for mailing.
While purchasing this unit comes with recurring costs, they’re quite low compared to rival brands. You only pay for mailing back and forth. Why? Because the price already includes your lab analysis fee.
8. A-1 Basements Instant Home Mold Test
 (3.6 / 5)
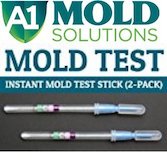
So, how does it work? Detach the swab to rub over a moldy surface. Slid it inside its plastic case and crush the vial. Just like the SEEML DIY kit, you’ll come across two testing kits where you pour droplets.
2. A brief comparison
Best |
Worst |
|
Features |
MyMoldDetective
Reasons 1. Performs indoor tests in just five minutes
2. Uses a silent but powerful fan to draw in air. 3. Comes with strips for surface tests |
1. SEEML Labs DIY
2. A-1 Basement Instant Home Mold 3. Healthful Home 5-Minute Test
Reasons 1. Limited to surface test |
Number of tests |
1. MyMoldDetective
2. ProLab DIY 3. AmaTest 4. DIY Mold Test 5. Mold Armor FG500 Do It Yourself Mold Test Kit Reasons 1. You can do an indoor air test and surface test |
1. SEEML Labs DIY 2. A-1 Basement Instant Home Mold 3. Healthful Home 5-Minute TestReasons 1. Limited to surface test |
Accuracy |
1. Mold Armor FG500 Do It Yourself Mold Test Kit
2. Amatest AMA109
3. MyMoldDetective
Reasons 1. Can detect slow growing but toxic mold within 72 hours |
1. ProLab DIY
2. DIY Mold Test
Reasons 1. Cannot detect slow-growing mold |
Areas of testing |
1. SEEML Labs DIY kit
2. MyMoldDetective
Reasons 1. You can test wet areas with high humidity |
1. Mold Armor FG500
2. Amatest AMA109 3. MyMoldDetective 4. A-1 Basement 5. ProLab DIY 6. DIY Mold
Reason 1. Require dry surface for testing |
The waiting period for results |
1. Helpful Home 5-Minute
2. A-1 Basement 3. AmaTest 4. MyMoldDetective
Reasons 1. Both Helpful Home and A-1 Basement provide results after five minutes.
2. AmaTest send your lab report after one week |
1. Mold Armor FG500 Do It Yourself Mold Test Kit
2. DIY Mold Test
3. ProLab DIY Kit
4. SEEML Labs
Reason 1. They take 2-3 weeks to send results |
The Best Air Purifiers:
3. 5 myths about mold
1. Mold isn’t dangerous
Some people wrongly assume that mold is just like any other plant you find outdoors. However, when a small patch grows bigger it releases more spores inside your living spaces. That’s why a musty smell develops and you get nausea when staying in an infested room. A high amount of spores triggers asthma attacks and migraines.
2. Mold test kits are a waste of money
Just because you don’t see mold spores doesn’t mean that they’re non-existent. Mold is present in the air flowing through your windows and the spores settle indoors. Mold simply requires dark places with poor ventilation to develop.
3. DIY kits are inaccurate
The wise man once said that cheap is expensive. However, advanced manufacturing technology makes products more affordable without compromising high standards. A standard mole inspection costs approximately $650, which is why a few people are quick to dismiss DIY kits that go for $40.
4. You can eliminate mold using bleach only
Will scrubbing mold-infested walls with copious amounts of bleach do the trick? Certainly not. The bleach cannot get rid of roots distributed beneath mold patches. It won’t eliminate any additional mold spores hidden inside cracks and crevices.
5. Paint kills mold
This is literally sweeping it under the rug. Painting over mold only destroys the canopies. New growth will develop and eat through your new coat of paint. At this point, the new growth has gained resistance over chemicals found in the paint.
4. How to prevent mold growth
1. Repair leaking pipes
Mold thrives in poorly ventilated confined spaces with high humidity. A leaking pipe increases humidity levels on small areas and that’s just enough space for mold spores to gather and start building a patch.
2. Ensure there’s good ventilation
Why is ventilation important? Because it reduces humidity accumulation as well as clustering of mold spores around one area. Keep your windows open during the day and get a fan for poorly ventilated rooms.
3. Use an air purifier
Air purifiers contain HEPA filters and UV chambers that trap and degrade mold spores. Having an air purifier at home or your office prevents mold from springing up again.
4. Get a dehumidifier
A dehumidifier regulates the amount of humidity inside confined spaces. Adding this unit to your basement or closet makes it hard for mold spores to survive.
Test your home or office today!
Waiting to see mold growing on your leaky ceiling or damp closet is far from wise. We’ve seen that mold spores trigger asthma attacks, migraines, and a variety of skin diseases. Especially where you have children present. Allowing mold to build up directly affects the health of your loved ones.
On the other hand, getting a mold test kit is the first step towards getting rid of that musty smell and illnesses. You’ll be able to do an accurate home inspection by purchasing a kit for each room with humidity problems.

